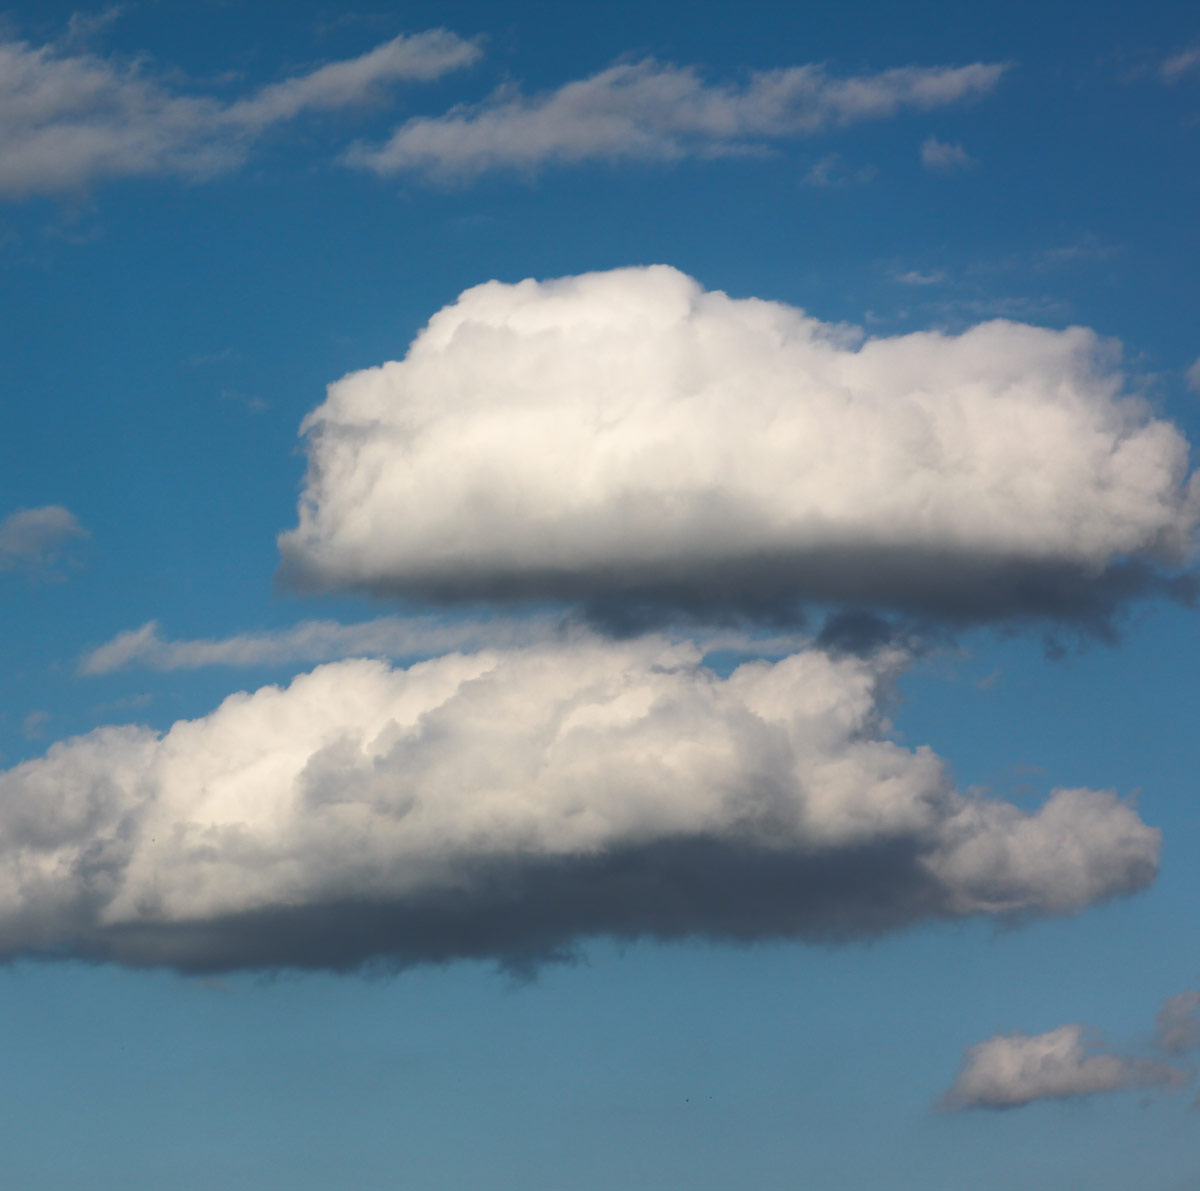
1. You will need a couple of photos of a sky with clouds. If you don’t have your own camera, you can download some free photos – for example from Free Stock Textures
2. Open your photo in Adobe Photoshop. Go to Image / Adjustments / Invert or use the keyboard shortcut (cmd + I) – on MAC, (ctrl + I) – on PC

3. Create a new Black & White adjustment layer (choose Black & White… from Adjustement Layers panel). I set Reds ” 300″, Yellows “300”, Blues “- 25” but you will have to play a bit with the settings to get the best result which means: white background and strong contrast in the clouds.


4. To enhance your result go to Image /Adjustment/ Levels… or use the shortcut: (cmd + L) – on MAC, (ctrl + L) – on PC and try what happens when you drag the right and the left slider in the Input Level panel.


5. Create a New Layer below the clouds layer. Fill it with white.
6. Go back to the clouds layer. Add a Layer Mask to hide unwanted parts of the clouds.

7. In order to flatten your image go to Layer / Flatten Image.
8. Select all (cmd +A) on MAC, (ctrl + A) on PC and copy (cmd + C) on MAC, (ctrl + C) on PC.
9. Create a new document (cmd + N) on MAC, (ctrl + N) on PC, set the size 2500px x 2500px*. If the photo you work on is smaller than 2500px x 2500px you can skip this step.
10. Paste the selection into your new document (cmd + V) on MAC, (ctrl + V) on PC.
11. Now you want to transfom your image to fit within your canvas. Go to Edit/ Free Transform or use the shortcut (cmd + T) on MAC, (ctrl + T) on PC and scale holding shift to keep proportion. If you don’t see the bounding box hit (cmd + 0) on MAC, (ctrl + 0) on PC which is a shortcut for View + Fit on Screen.

12. Last thing to do is to save your image as brush. Go to Edit / Define Brush Preset… Type in a nice name for your brush (however it’s not necessary) hit (OK) … and you have just created your own cloud brush!
13. Now you can go back to your flattened image choose a single cloud using Polygonal Lasso Tool (L), copy it to a new document 2500px x 2500px, transform to fit, and Define new Brush Preset… or play with another cloudy sky photo.
* From Photoshop 7.0 on the maximum brush size is 2500 px x 2500 px (and 999 px for earlier versions). The larger the brush is created the better (since you obviously can’t increase the diameter of your brush beyond its original size without blurring).

Tags
Comments (9)
Comments are closed.
You’ve got some cool stuff here (:
To fully complete the demo, you should show the brush in use. Actually demonstrate what the result looks like when applied to some other photo or whatever…
Awesome tutorial thanks a lot!
This is a very good tutorial. It is easy to follow, and the steps are as simple as possible. You give a clear understanding of how to make any kind of brush, not just clouds. This is better than some of what I’ve seen by the experts! Great job!
wow!!!!!! hahahaha this seems pretty cool but i dont want to try it!!!! haha it seems a bit confusing!
Nice tutorial thank you for sharing!
I like most of Your Vectors Graphics Resources ,Which are available on your blog. I have never found anywhere on the Internet.You have really very sound collection of Graphics.I hope you will add up more graphics resources on your Great Blog in Future,which will help out to others.I am really and gratefully thankfully to you. U can contact me or visit my Website at http://www.vectorsgraphics.com
Thanks
Sachin
thank u man for this great tutorial ;)
keep it coming ;)
I hadn’t found any like buton on page ! put one and I’ll be the first one who like it :D
Please add a donation button so i can send you more than a word thank you.
THANK YOU!